
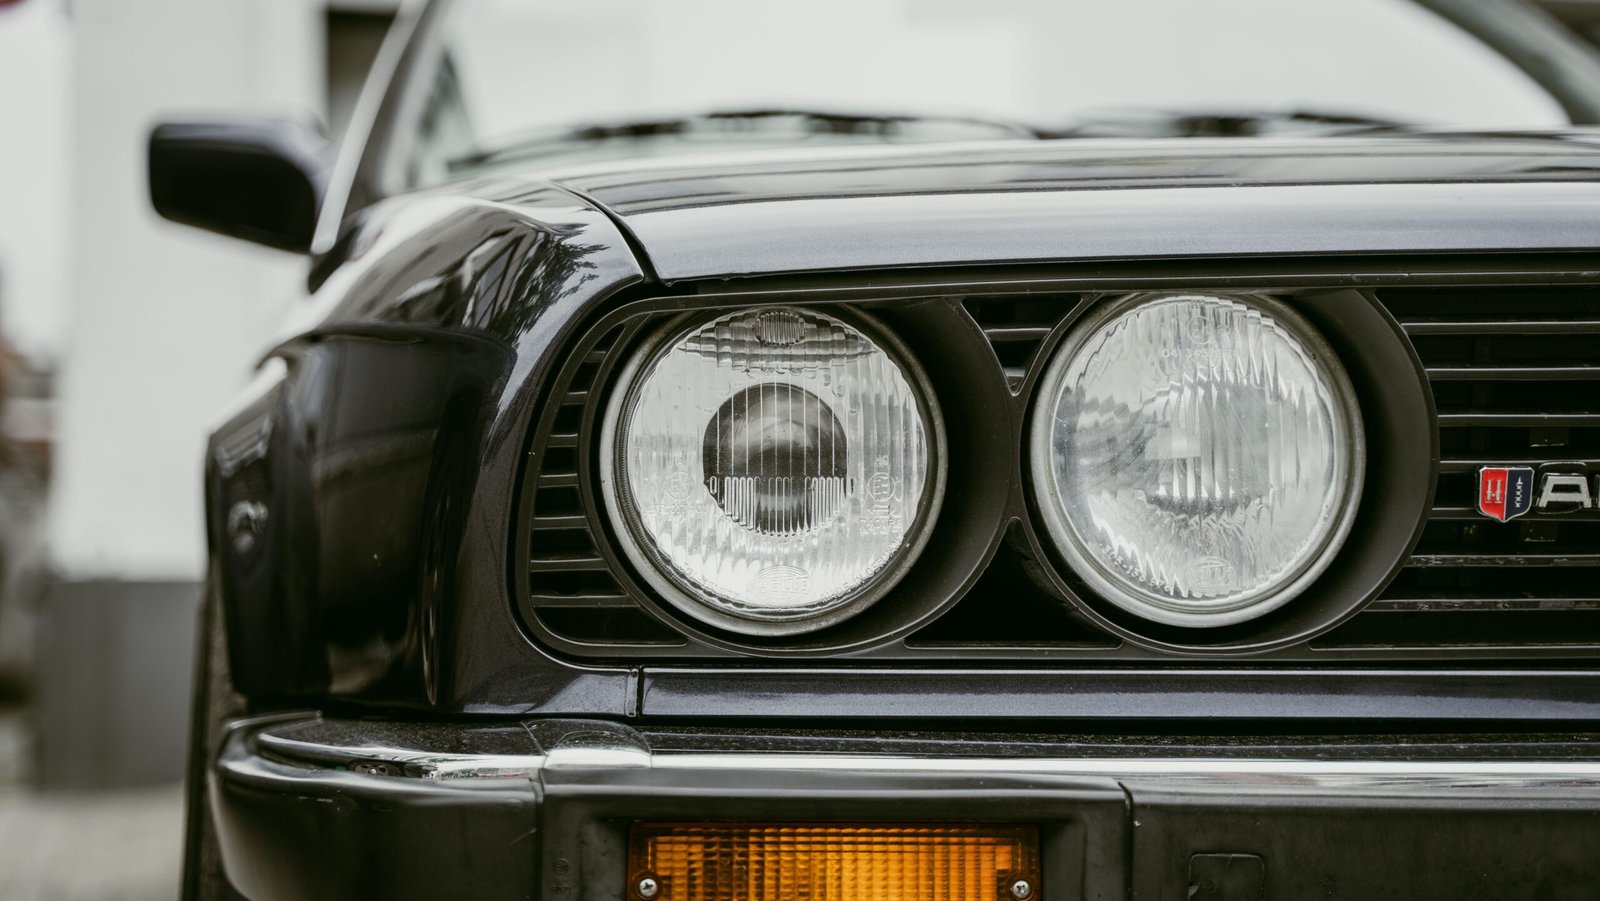
Cloudy headlights can make an older car look tired, even when the rest of the vehicle is in great shape. But faded headlights aren’t just a cosmetic problem. When the lenses turn yellow or become hazy, they can reduce the amount of light reaching the road, making nighttime driving more difficult.
The good news is that you don’t always need to replace your headlights to fix the problem. In many cases, you can restore them at home with a few basic supplies, some patience, and a little effort.
DIY headlight restoration is an affordable way to improve your car’s appearance and visibility without spending money on brand-new headlight assemblies.
Why Do Headlights Become Cloudy?
Most modern cars use plastic headlight lenses instead of glass. These plastic lenses are lightweight, durable, and less likely to shatter, but they can become cloudy after years of exposure to sunlight and the weather.
The outer protective coating gradually breaks down because of ultraviolet (UV) rays. As the coating wears away, the plastic starts to oxidize. That’s when headlights begin to look yellow, dull, or foggy.
Other things can contribute to the problem, including:
- Sunlight and UV exposure
- Road dust and dirt
- Small scratches from cleaning
- Chemicals from car washes
- Heat and changing weather conditions
Once the lenses become cloudy, washing your car usually won’t make much difference. The oxidation is on or within the damaged surface layer, so it needs a little more attention.
Why Restoring Your Headlights Is Worth It
Clear headlights help your car look cleaner and newer, but the biggest benefit is better visibility.
When headlights are badly hazed, the light output and beam clarity may be reduced. This can make it harder to see road signs, pedestrians, potholes, and other hazards at night.
Restoring the lenses can help improve light transmission if the cloudiness is on the outside. It also gives you a chance to inspect the headlights for cracks, moisture, or other damage.
Here are a few reasons to restore your headlights:
- Improve nighttime visibility
- Make your car look better
- Avoid replacing expensive headlight assemblies unnecessarily
- Remove surface oxidation and haze
- Improve the appearance of an older vehicle
If the cloudiness is inside the headlight or caused by serious damage, polishing the outside won’t solve the problem.
What You Need for DIY Headlight Restoration
You don’t need a professional workshop to restore headlights. Most restoration kits include the materials needed to remove oxidation and polish the plastic.
Depending on the method you choose, you may need:
- Headlight restoration kit
- Automotive masking tape
- Microfiber towels
- Spray bottle with clean water
- Sandpaper of different grits, if required
- Plastic polishing compound
- Protective gloves
- UV-resistant headlight coating
A restoration kit is often the easiest option for beginners because the products are designed to work together. If you’re buying supplies separately, make sure they’re suitable for plastic headlight lenses.
Avoid using random household chemicals or harsh cleaners. Some products can damage the plastic and make the haze worse.
How to Restore Cloudy Headlights at Home
Before you begin, park your car in a shaded area and make sure the headlights are cool. Read the instructions on your restoration product because different kits may use different steps.
Step 1: Wash the Headlights
Start by cleaning both headlights with car shampoo and water. Remove dust, mud, insects, and other dirt from the surface.
Dry them using a clean microfiber towel. You want to work on a clean surface so that dirt doesn’t get trapped during sanding or polishing.
Step 2: Protect the Paint Around the Headlights
Use masking tape around the edges of each headlight. Cover the nearby paint, bumper, and trim to protect them from sandpaper and polishing compounds.
Take your time with this step. Sanding can easily leave scratches on surrounding paint if you’re not careful.
Step 3: Sand the Lens if Needed
If your headlights are heavily oxidized, the restoration kit may recommend wet sanding.
Start with the sandpaper grit specified by the kit. Keep the surface wet if the instructions call for wet sanding, and use gentle, even movements.
You may notice the headlight looking more cloudy during sanding. Don’t worry, this is normal. Sanding removes the damaged outer layer, and the polishing steps are what bring back the clarity.
Move through the recommended grits in order. Skipping sanding stages can leave visible scratches that are difficult to remove later.
Step 4: Polish the Headlights
Apply a small amount of plastic polishing compound to the lens or polishing pad.
Work in small sections using a microfiber cloth or the tool recommended by your restoration kit. Continue polishing until the lens begins to look clearer.
If you’re using a machine polisher, keep the speed low and avoid staying in one spot for too long. Excessive heat can damage the plastic.
Step 5: Wipe Away the Residue
Once polishing is complete, wipe the headlight with a clean microfiber towel.
Check the lens from different angles and under good lighting. If haze or scratches remain, you may need to repeat the polishing step according to the product instructions.
Step 6: Apply UV Protection
This is one of the most important parts of headlight restoration.
Polishing removes oxidation, but it can also leave the plastic more exposed to sunlight. Without proper protection, headlights may become cloudy again much sooner.
Apply a UV-resistant headlight coating or sealant designed for restored plastic lenses. Follow the instructions carefully and allow it to cure properly.
Don’t touch the surface while the coating is drying.
Can Toothpaste Restore Cloudy Headlights?
You may have seen videos showing people using toothpaste to clean yellow headlights. Toothpaste contains mild abrasives, which can sometimes improve very light surface haze.
However, it isn’t a reliable replacement for a proper restoration kit. It may produce a small improvement, but it usually won’t remove heavy oxidation or provide long-lasting UV protection.
If your headlights are noticeably yellow or cloudy, a dedicated restoration kit is generally a better choice.
Common Mistakes to Avoid
Headlight restoration is fairly simple, but rushing the process can leave you with disappointing results.
Avoid these common mistakes:
- Using sandpaper that’s too rough for the lens
- Skipping the recommended sanding steps
- Sanding without enough water when wet sanding is required
- Forgetting to mask the surrounding paint
- Using excessive pressure while polishing
- Leaving polishing residue on the lens
- Skipping UV protection after restoration
- Working under direct sunlight or on hot headlights
The goal isn’t to remove as much plastic as possible. You only want to remove the damaged surface layer and finish the lens smoothly.
How Long Does Headlight Restoration Last?
The results depend on the condition of your headlights, the restoration method, and the UV protection you apply afterward.
A properly restored headlight with a good protective coating can stay clear much longer than one that’s simply polished and left unprotected. However, no restoration lasts forever. Sun exposure, weather, and regular driving will eventually affect the lenses again.
Parking in the shade or under cover when possible can help reduce UV exposure. Washing your headlights gently with normal car shampoo also helps keep them clean.
When DIY Restoration Isn’t Enough
Not every cloudy headlight can be fixed with sanding and polishing.
If the lens has deep cracks, severe damage, moisture inside the housing, or cloudiness on the inner surface, you may need professional repair or replacement.
If your headlights remain dim after restoration, have the bulbs, wiring, reflectors, and beam alignment checked. Clear lenses alone won’t fix every lighting problem.
Final Thoughts
DIY headlight restoration is a simple project that can make a noticeable difference in the way your car looks and performs at night. With the right materials and a little patience, you can remove surface oxidation, improve lens clarity, and avoid replacing headlights unnecessarily.
Take your time with sanding and polishing, protect the surrounding paint, and don’t skip the UV coating. That final protective layer is what helps your hard work last.
At CarsHub.autos, we believe car maintenance doesn’t always have to be expensive. Sometimes, a small weekend project is all it takes to make your car look better and feel ready for the road again.